DIY: Baby Gnome Hat

little august

Little baby August was born this past Valentine’s day at a hearty 7 pounds and 6 ounces. But despite his ample weight, this long and lean baby has the tiniest of craniums, causing any and every hat we have for him to slide down over his eyes. The result: one fussy baby! So what’s a mama to do? Make some DIY hats of course!

To ensure our little guy’s noggin was staying nice and toasty in our home and beyond I whipped up a simple yet chic hat design that I could create using various fabric scraps. Using printed fabrics on a bias instead of elastic, and solid t-shirt fabric for the top, August’s “krasnoludek” hats have become an instant hit! Keeping his head warm while adding a pop of color to his ensembles, making these little gnome hats in different color combos is becoming my new pass time, in between feedings and naps at least.

So without further adieu, I bring you a quick photo tutorial on how to make a baby gnome hat (or two or three!) for your own little bundle. Enjoy!

diy gnome hat from pierogi picnic

Advertisement

DIY: No-Sew T-Shirt Turban

diy tshirt turban headband by pierogi picnic

It’s the time of year for biking, sunshine and humidity – which can mean only one thing – it’s frizz season!

If you have any hint of kink in your hair than I know you know where I’m coming from. You can be having the perfect hair day, go on a nice long bicycle ride, arrive at your location only to find that you’ve got that finger-in-a-light-socket look, and it ain’t pretty. So what’s a gal (or guy!) to do?

There are tons of products out there that can potentially help, but rather than slop gunk onto your locks try this out instead: a cotton turban headband. Not only will it keep your hair in place, it will also draw the eye away from that halo of fuzz that inevitably develops in the summer months.

Here’s a quick five-minute tutorial on how to make your very own headband using an upcycled tee and a pair of scissors. No sewing machine required! Give it a try and you too will find it’s the easiest way to beat the frizz this season. Continue reading

Featured Designs: Love & Lace

Pierogi Picnic:  Love & Lace

I am so incredibly excited for the coming spring. I know it’s still several months away, but my mind can’t help but dream of longer days, budding trees and blooming crocuses. Perhaps it’s this longing for the season of awakening that drew my mind to the “Love & Lace” design.

Handmade using a salvaged t-shirt, this incredibly simple, yet romantic piece combines the softness of cotton and the allure of vintage white lace, to create a garment that’s both casual and eye-catching. With the versatility to be worn as either a short dress or tunic top, the “Love & Lace” design can be layered to your heart’s content.

But what about this design made me think of spring? The lightness of the fabric, coupled with the femininity of the lace makes me think of flirty frocks and less chunky knits – which is what spring fashion is all about! This specific creation also speaks to me as it’s the inspiration behind my new upcoming collection: Grey & Gold. Keep your eyes peeled for its debut this coming February! Until then – consider making this favorite a part of your personal collection.

Greening Martha: Eco Chic Autumn Table Runner

DIY Eco-Friendly Leaf Table Runner for Thanksgiving

There are so many incredible DIY craft tutorials out there to try – but how do we scratch that creative itch without compromising our earth-loving-ethics? That’s what the “Greening Martha” series is all about! I take some of the most lusted after Martha Stewart tutorials and give them an eco-friendly makeover, making you feel better about indulging your crafty cravings!

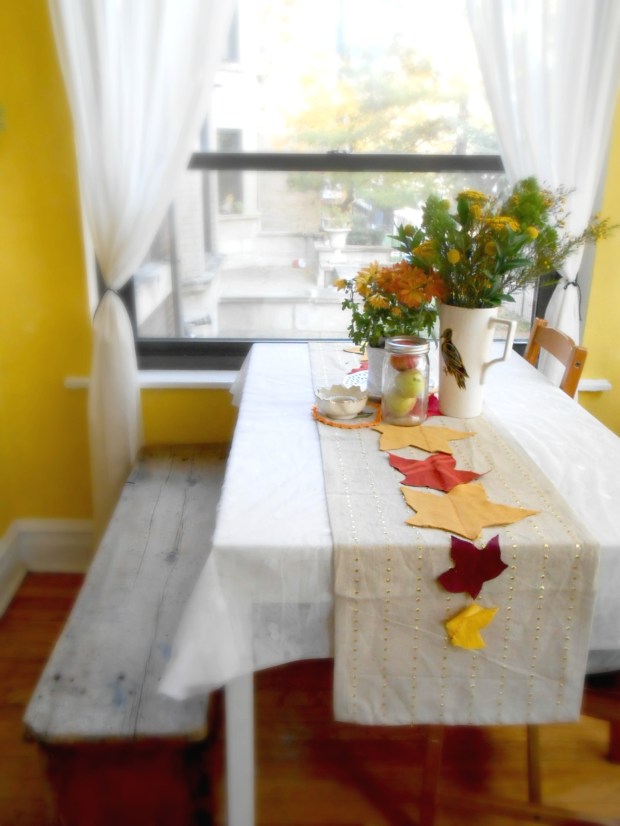
With Thanksgiving just around the corner, I thought it was high-time to get some seasonal tutorials going. This month I’m bringing you a DIY twist for dressing up your holiday table: the Eco-Chic Autumn Table Runner.

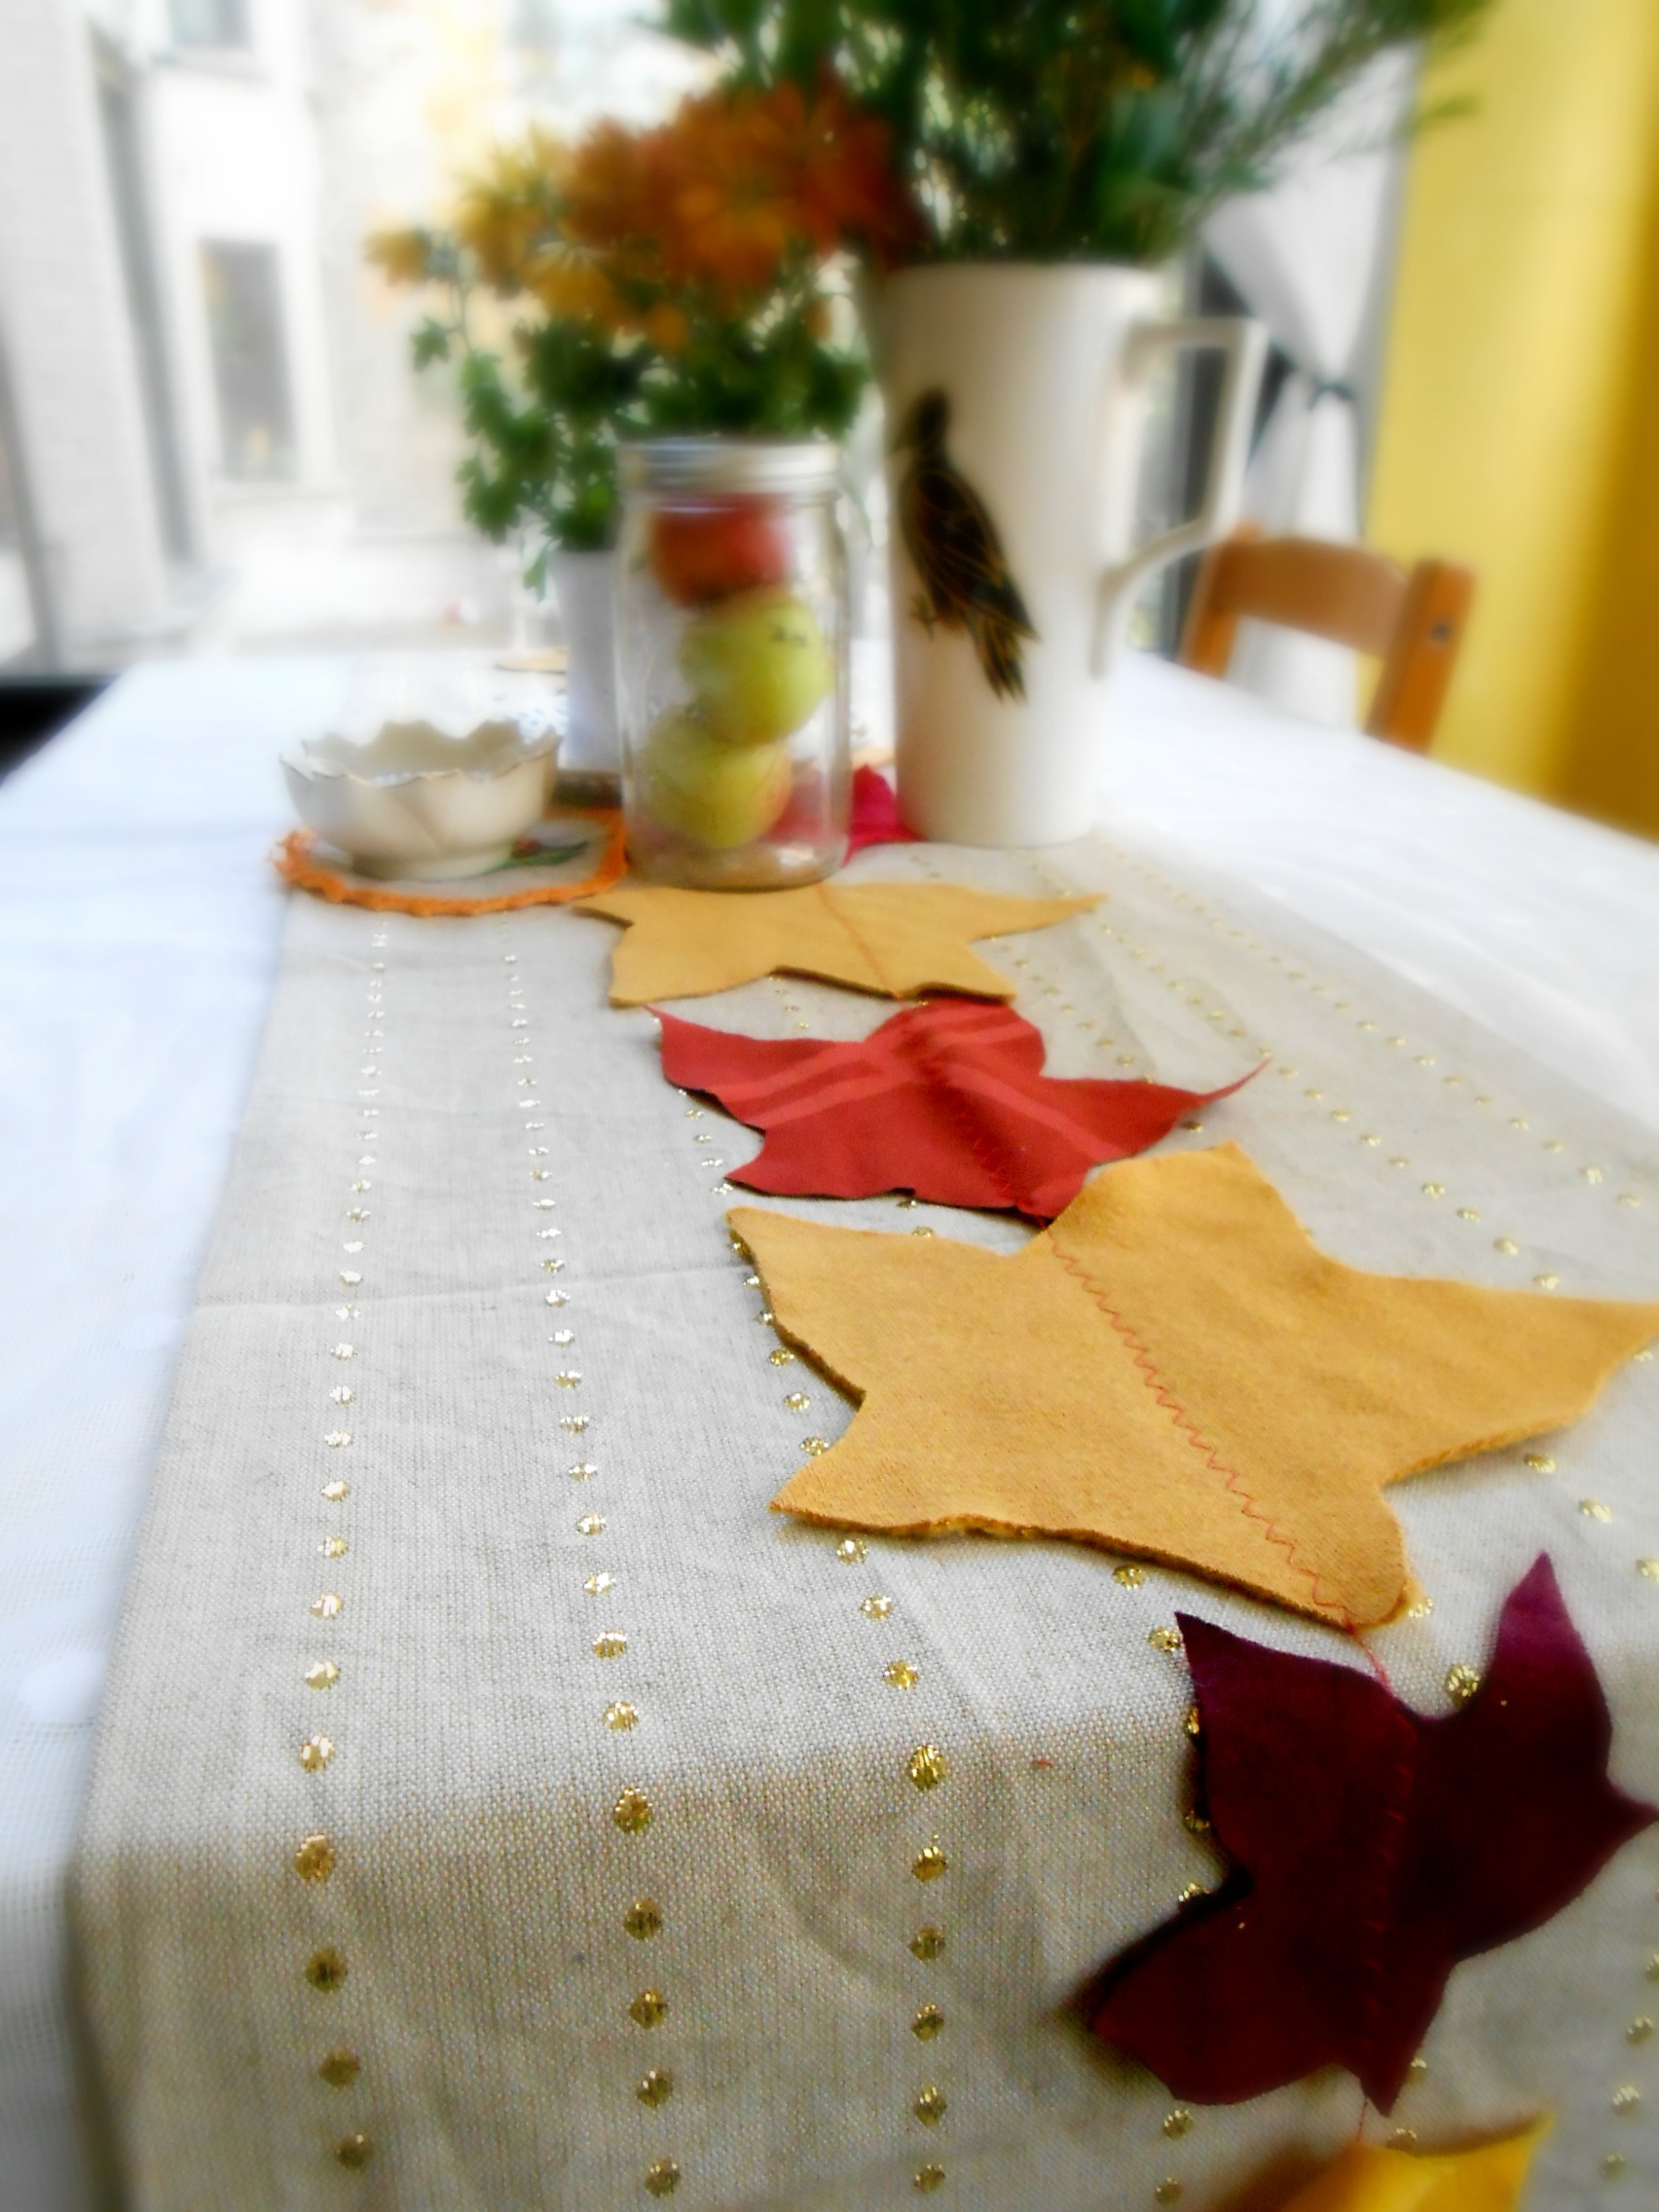
Designed after Martha’s “Festive Fall Felt Trivets“, my rendition of this uber cute seasonal decor utilizes leftover fabric scraps from sweatshirts and t-shirts instead of virgin materials. By using textiles that you already have lying about your home you can spice up your Thanksgiving spread without purchasing new fabric, which wastes valuable resources and pollutes the environment.

For an in-depth account of the full effects of the textile industry, read this report from the Indian Textile Journal, which documents each step of the fabric creation process and its impact on the planet.

So in the true spirit of  the “Greening Martha” series, here’s a fun eco-friendly tutorial that will have you jumping for joy with your Thanksgiving table design, while feeling good about your conscious craft choices.

Greening Martha eco-friendly leaf table runner

Eco Chic Autumn Table Runner

Supplies Needed:

+ Various fabric scraps or used t-shirts, sweatshirt and other textiles
+ A sharp pair of fabric scissors
+ Fabric chalk, marker, pencil or crayon
+ A leaf (go get one from outside!)
+ A threaded sewing machine or old fashioned needle and thread

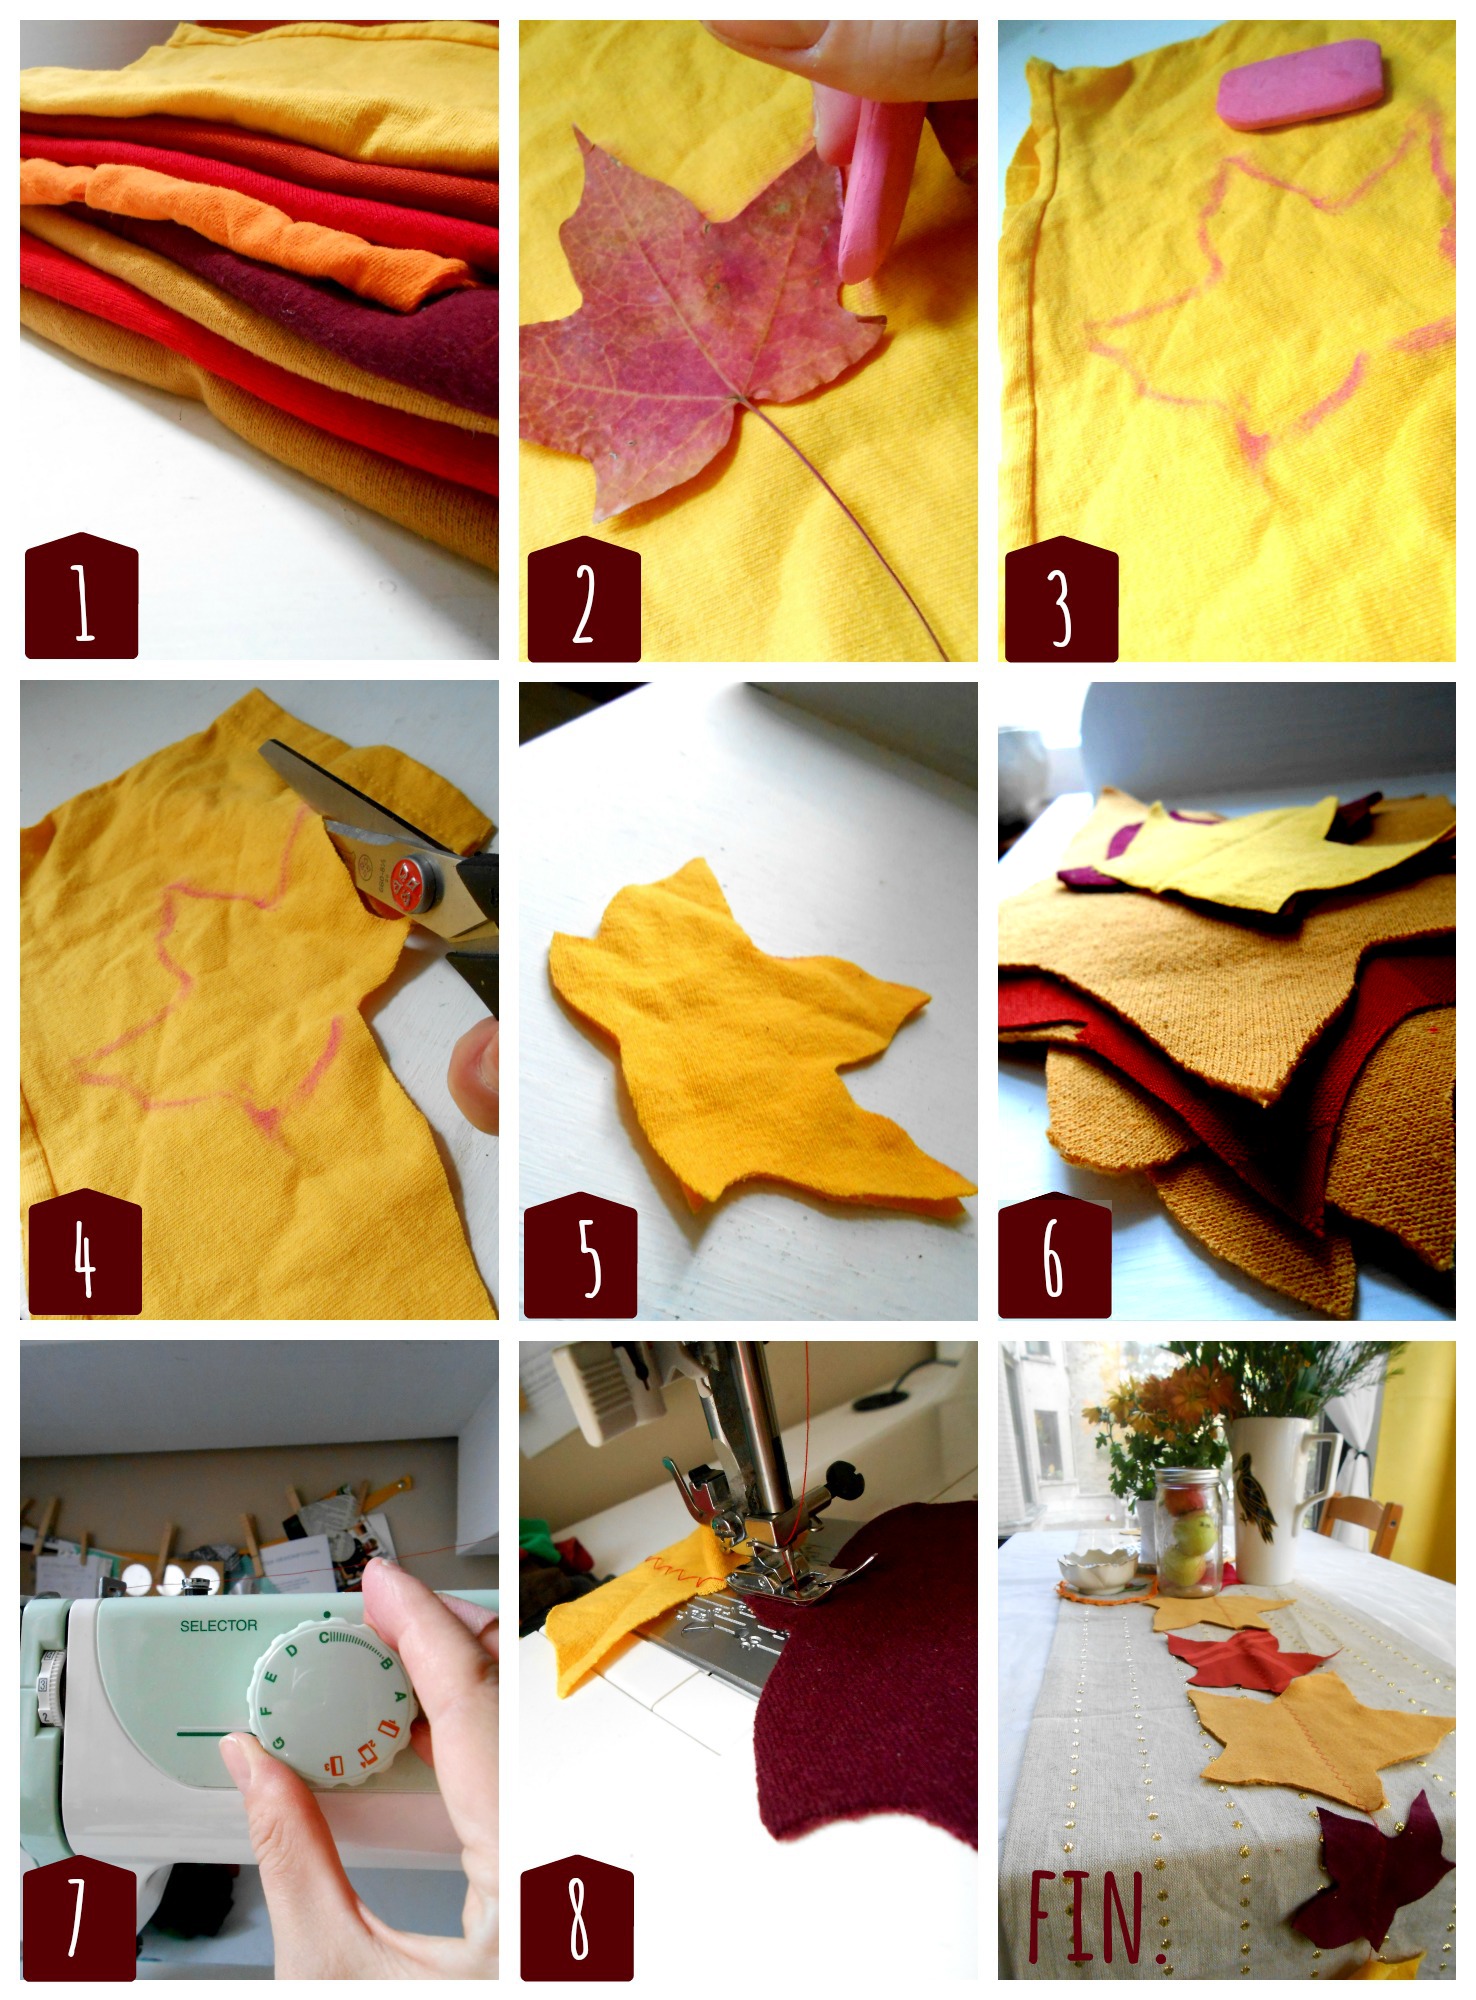
  1. Gather up your fabric, paying particular attention to the color scheme. Warm, earthy autumnal tones are best. Also try to find a variety of fabrics to create a more rustic look. Think cotton, knits, fleeces and other cozy textures.
  2. Grab your leaf and set it down on your first piece of fabric.
  3. Outline the leaf’s shape using fabric chalk, a marker, crayon, or anything else you may have lying around.
  4. Cutout your leaf outline – doubling the fabric if you want to be extra efficient.
  5. Trim up your leaf cutout to ensure it’s look even sharp.
  6. Repeat steps 2-5 with your other fabrics.
  7. Once all your leaf shaped are cut out, set your sewing machine to a zig zag stitch pattern. If you’re stitching by hand – skip this step.
  8. One leaf at a time, stitch across the surface of the shape, lining up your next leaf just after you hit the edge. Alternate the orientations of the leaves with each new shape addition to ensure a more natural pattern.

DIY Green Tutorial: Thanksgiving Leaf Table Runner

 
And that’s it! In fifteen minutes or less you can have an eco-savvy, super chic table runner with which to adorn your Thanksgiving spread. It’s an easy, affordable, and of course, earth-friendly way to liven up your space without compromising your ethics.

Is there a sustainable how-to that’s caught your eyes for the holidays? If so – share the link in the comments below!

greening martha diy eco table runner

DIY: Upcycled Infinity Scarf

diy infinity scarf pic

If you’ve been looking for an easy 10 minute scarf tutorial – your search ends here!

Boggled by the over-the-top prices of currently trendy infinity scarves, I decided to give a DIY version a go. And won’t you know – the end result is cute, stylish, eco-friendly and el cheapo! So if you’re looking for a quick and easy way to make your own cotton wrap around scarf, grab a t-shirt and scissors and give this a try!

pierogi picnic infinity scarf demo

1) Choose a pre-loved t-shirt that’s nice and soft.

2) Cut off the bottom hem of the t-shirt.

3) Make another horizontal cut, about 4 inches above the first. Try to keep the cut clean and straight.

4) Make a third cut, same size, just above the last.

5) Grab each thick fabric strip and pull taught, rolling the edges. This is your no-sew hem.

6) Double loop the top strip.

7) Lay the double loop over the larger loop.

8) Using a small piece of your cut hem, tie a single knot on one side of the gathered loops.

9) Tie a second knot.

10) Pull the knot as taught as possible.

11) Trim the excess fabric.

12) Tuck the knot under and flip. All done!

DIY Infinity Scarf from an Upcycled T-Shirt by Pierogi Picnic

DIY: No-Sew Cut-Out Tie Top

Pierogi Picnic: DIY Upcycled cut-out tie top

I’ve been seeing these adorable tie tops all over the city, Whether paired with cut-offs or a long maxi skirt, the look has definitely caught my eye. So how could I not concoct a tutorial on how to make your very own?!

Using a pre-loved t-shirt and pair of scissors, you can easily create an airy cotton cut-out top to tie just as you see fit. And with the no-sew instructions below, making one of these cute pieces has never been easier! Continue reading

Events: Renegade – Creation Station

I have started a tradition at my in-person events to always have some kind of earth-friendly craft ready and waiting for fans to make.  And this September’s Renegade will be no different!

Since I’m not sharing a booth this year I’ll have a bit more space to stretch out – so I’m planning to insert what I’m calling the “creation station.” This little nook of my tent will feature supplies and instructions on how to make your very own green-it-yourself bracelets. Created from the remnants of my cotton-based designs, these accessories will be a fun way to get fair-goers to try their own hand at crafting. I’ll be hand-dying each strip in advance too – so that the finished bracelets have a lovely ombre effect.

So if you’re planning on coming by the fair on September 8th or 9th, be sure to set some time aside to make your very own fabric bracelets. There’s nothing better than a free, green and trendy souvenir!