The Big T-W-O!

Oh my goodness – when did it happen?! When was I suddenly the mother of a full-fledged toddler?!

This past Valentine’s Day we crossed the milestone. August turned the big T-W-O! My little bundle, my baby boy, is now a floor stomping, bug poking, soil slinging mini man. He’s independent, fiery, curious, and addicted to routines. Thankfully, his tantrums are few, and his appetite is still big, so I’m clinging on to those two baby hold overs for as long as possible. His vocabulary is expanding in an exponential rate as are his physical capabilities. I’m telling you – mini man. Mini man.

To celebrate his passage into this new phase of life I hosted a small shin dig in his honor. As I’m quickly learning with this stage, less is more. Instead of busting out all stops for a big hoopla of a party, I planned an intimate breakfast bash with family, friends, and some of his toddler buddies. “Keep it simple sweetie” – definitely the way to go.

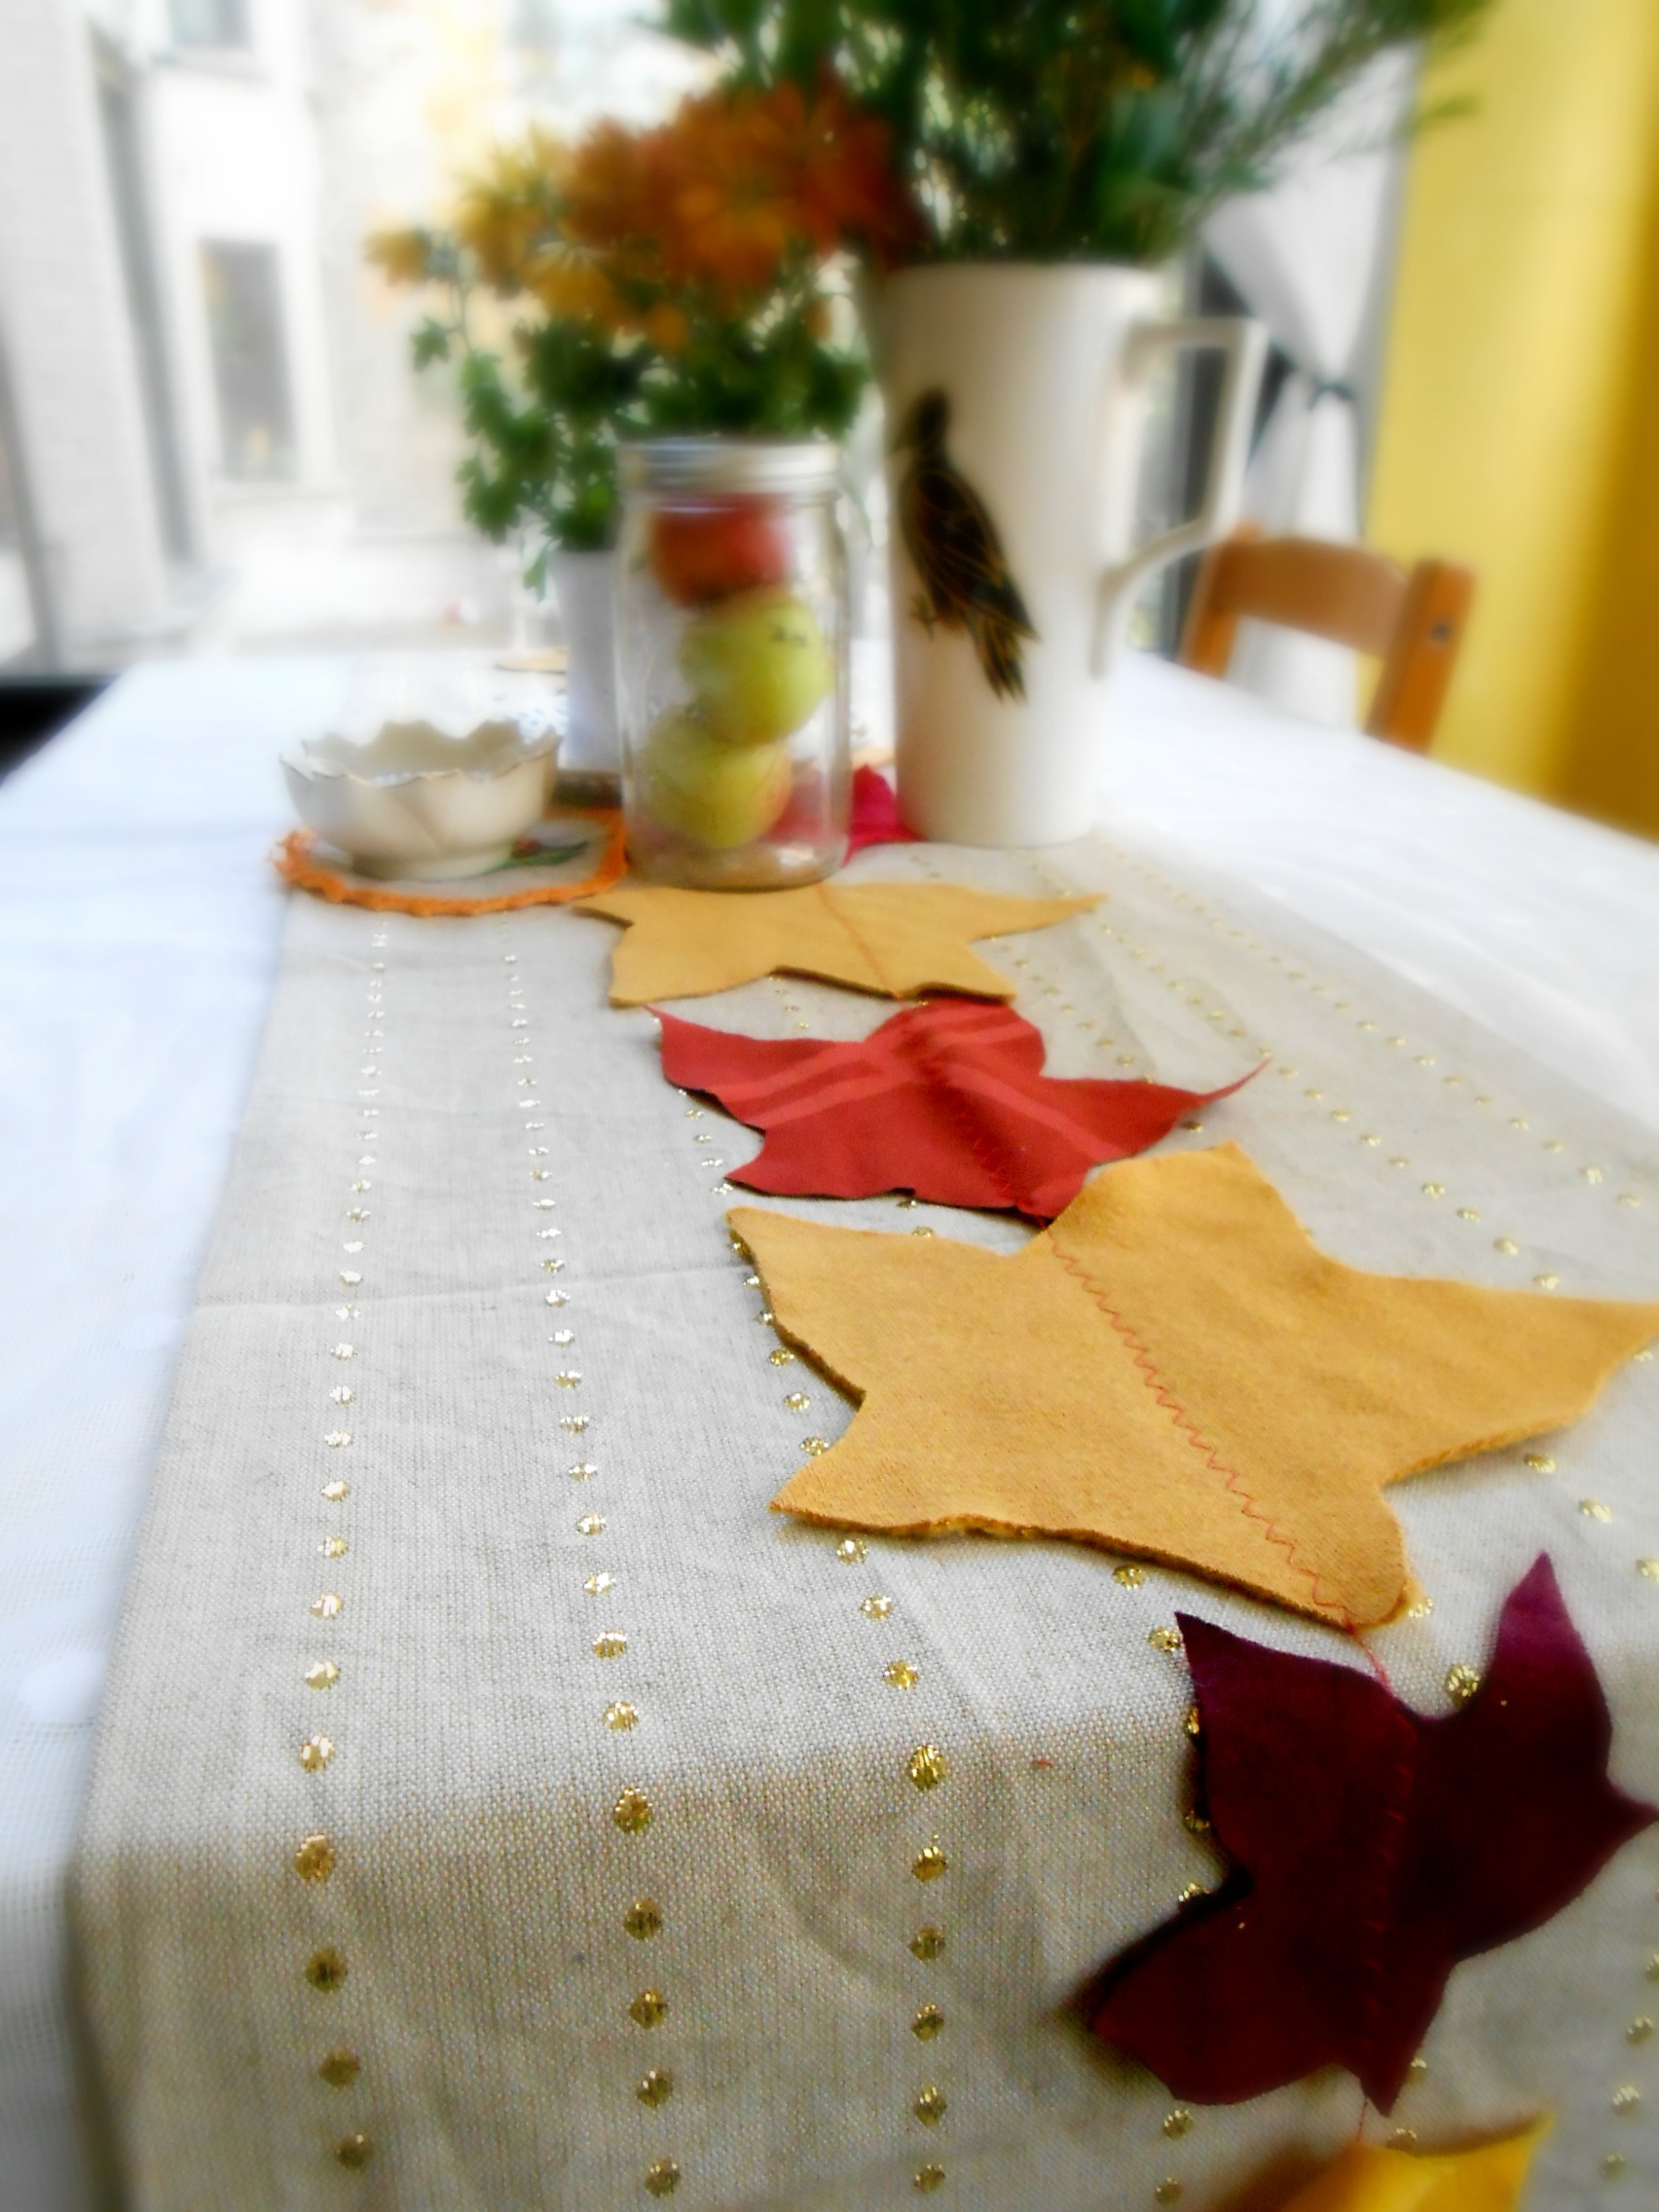
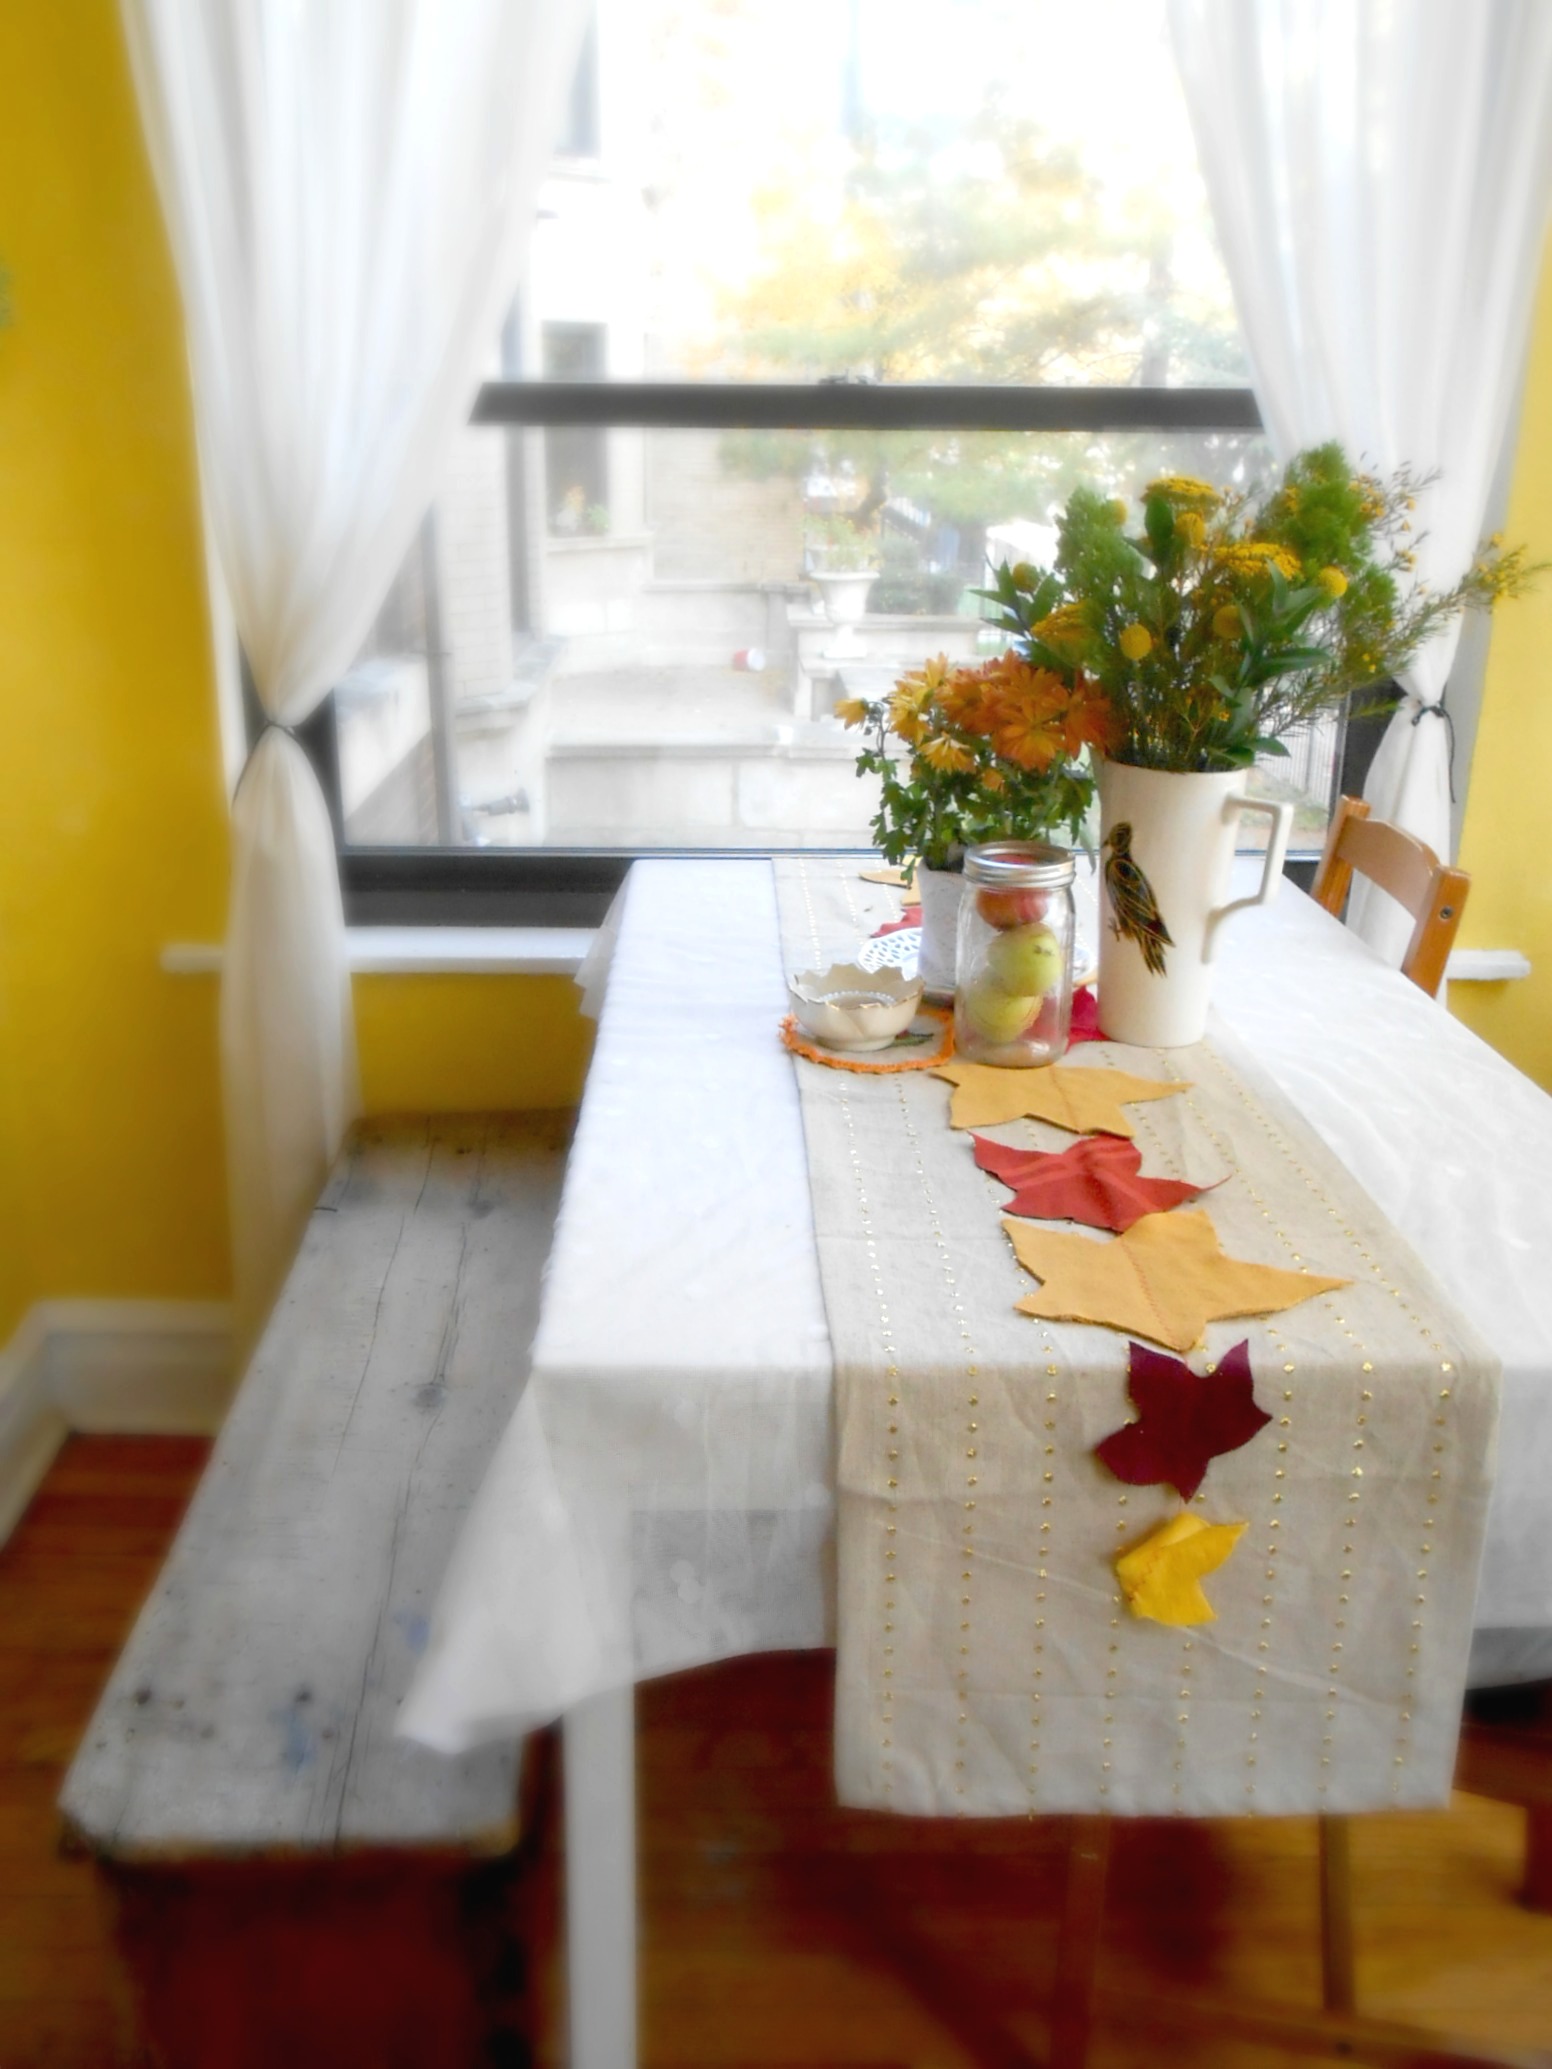
For the decorations I stayed away from a true theme and instead pulled together some basics in a variety of colors and textures. I also fell in love with a gold “Yay” Mylar balloon I found at Target – so threw in a few more metallic elements to bring it all together. Add a few bright floral bouquets and a smattering of wooden animal figurines and wallah! My apartment was birthday party ready!

For the food spread I, again, kept things simple. I filled up a cutting board with a variety of cheeses, including the standard brie and blue, both of which August promptly took whopping bites from. See my Instagram for video proof. I filled several bowls with berries, yogurts and granola, and set out jams and other condiments for spicing things up. Putting my collection of cake stands to work, I piled up mini omelettes, freshly baked mini croissants as well as towers of silver dollar pancakes skewered with berry kabobs. Do you see a pattern yet? Mini, mini, mini. One thing that was full sized was August’s birthday cake: A delightful chocolate ganache that we purchased from Whole Foods which I then topped with fresh cut flowers, a wooden animal figurine, a sparkler, and of course, two candles. For drinks I also kept things minimal and served orange juice, french pressed coffee, and organic milk boxes for the kiddos. The food was definitely a huge hit!

As seems customary at kid parties, I had an activity planned, but in the hub-bub of guests, food, and toddler antics, there was no opportunity to introduce it. Aka, I totally forgot. Oops! I had bought the supplies to have the kids make their very own seed bombs which they could “plant” somewhere in their neighborhood. Since I have the wildflower seeds and peat rarin to go – I may host a spring themed play date to give the littles a chance to get their hands dirty while teaching them some horticulture basics. But I digress.

730 days old. Quite the milestone and so glad we had a chance to properly celebrate. Now to start plans for Easter!


Advertisement

Our Holiday To-DIY List

With Christmas fast approaching it’s high time we compile our annual DIY gift to-do list.

In addition to buying some locally hand crafted goodies, and placing orders via Etsy, we’re committed to creating as many gifts ourselves as possible. Here’s a peak at some of the tutorials that are serving as inspiration for our merry making this season!

62a829466f8b236e765cd1d0d112c6c5

Wooden bead keychains from Be Crafty

1-diy-cuckoo-click

Printable cuckoo clock by Handmade Charlotte

SAMSUNG DIGITAL CAMERA

Homemade cheek + lip stain from me – yay!

quick-triangle-quilt-tutorial

One hour triangle quilt from See Kate Sew

Felt_Succulent_Pattern_2


Felt succulents from Lia Griffith

6a00d8358081ff69e201b8d0d78ed9970c-800wi

Color blocked kitty scratching post from A Beautiful Mess

image

DIY Terrarium from Refinery29

homemade-shaving-cream-step-6

Natural shaving cream recipe from MommyPotamus

Now – to make time for making all these amazing things!


Introducing August!

August birth announcement crpped

This past Valentine’s Day was life-changing.

At 1:30 a.m. on Saturday morning David and I welcomed our son Augustine Krupinski Downs into the world. Born six days after his due date, we were thrilled that the anticipation of meeting this little man was finally over. Here’s the story of how he came to be a Valentine’s babe. Continue reading

DIY: Newspaper Party Streamers

DIY: Eco-Friendly Party Decor - recycled newspaper streamers

This past month I found myself in a dilemma. David’s birthday was suddenly at hand, we had a party planned, and I totally forgot to consider decorations! With just an hour before the first guests’ arrival, I devised a quick and resourceful way to get my apartment into the party spirit: Upcycled paper streamers!

Sneaking a few sheets of newspaper away from my bunny’s stash, I concocted a simple banner design that only required a few strategic cuts and less than 10 minutes of sewing. The result? A transformed festive space that’s eco-friendly and ready for fun!

Should you be on the lookout for a simple and design-savvy way to deck out your place for an upcoming get-together, give this easy four step tutorial a try!

upcycled party streamers tutorial

1) Cut your newspaper into one inch slices.

2) Gather a stack of your sliced paper and cut each strip in half.

3) Align your strips to ensure they’re all the same length. Don’t worry about the width of each being exact.

4) Use a simple stitch and same plain thread to connect the strips together, sewing about a half inch from the tops. Sew approximately 30-40 slips per streamer.

And that’s it! To hang your streamers all you need to do is grab some washi or marking tape and affix them to your ceiling at varying lengths and spaces. You’ll find that the more streamers you hang, the fuller the installation’s look, so don’t be afraid to go nuts and make ten or more pieces!

Do you have a secret last-minute party decor idea that’s easy to make and eco-friendly? Share your tips with us!

Pierogi Picnic: Handmade Party Streamer Tutorial

Greening Martha: Eco Chic Autumn Table Runner

DIY Eco-Friendly Leaf Table Runner for Thanksgiving

There are so many incredible DIY craft tutorials out there to try – but how do we scratch that creative itch without compromising our earth-loving-ethics? That’s what the “Greening Martha” series is all about! I take some of the most lusted after Martha Stewart tutorials and give them an eco-friendly makeover, making you feel better about indulging your crafty cravings!

With Thanksgiving just around the corner, I thought it was high-time to get some seasonal tutorials going. This month I’m bringing you a DIY twist for dressing up your holiday table: the Eco-Chic Autumn Table Runner.

Designed after Martha’s “Festive Fall Felt Trivets“, my rendition of this uber cute seasonal decor utilizes leftover fabric scraps from sweatshirts and t-shirts instead of virgin materials. By using textiles that you already have lying about your home you can spice up your Thanksgiving spread without purchasing new fabric, which wastes valuable resources and pollutes the environment.

For an in-depth account of the full effects of the textile industry, read this report from the Indian Textile Journal, which documents each step of the fabric creation process and its impact on the planet.

So in the true spirit of  the “Greening Martha” series, here’s a fun eco-friendly tutorial that will have you jumping for joy with your Thanksgiving table design, while feeling good about your conscious craft choices.

Greening Martha eco-friendly leaf table runner

Eco Chic Autumn Table Runner

Supplies Needed:

+ Various fabric scraps or used t-shirts, sweatshirt and other textiles
+ A sharp pair of fabric scissors
+ Fabric chalk, marker, pencil or crayon
+ A leaf (go get one from outside!)
+ A threaded sewing machine or old fashioned needle and thread

  1. Gather up your fabric, paying particular attention to the color scheme. Warm, earthy autumnal tones are best. Also try to find a variety of fabrics to create a more rustic look. Think cotton, knits, fleeces and other cozy textures.
  2. Grab your leaf and set it down on your first piece of fabric.
  3. Outline the leaf’s shape using fabric chalk, a marker, crayon, or anything else you may have lying around.
  4. Cutout your leaf outline – doubling the fabric if you want to be extra efficient.
  5. Trim up your leaf cutout to ensure it’s look even sharp.
  6. Repeat steps 2-5 with your other fabrics.
  7. Once all your leaf shaped are cut out, set your sewing machine to a zig zag stitch pattern. If you’re stitching by hand – skip this step.
  8. One leaf at a time, stitch across the surface of the shape, lining up your next leaf just after you hit the edge. Alternate the orientations of the leaves with each new shape addition to ensure a more natural pattern.

DIY Green Tutorial: Thanksgiving Leaf Table Runner

 
And that’s it! In fifteen minutes or less you can have an eco-savvy, super chic table runner with which to adorn your Thanksgiving spread. It’s an easy, affordable, and of course, earth-friendly way to liven up your space without compromising your ethics.

Is there a sustainable how-to that’s caught your eyes for the holidays? If so – share the link in the comments below!

greening martha diy eco table runner

30 Reasons to Love 30

30 Awesome Things About 30

Maybe it’s not exactly a “Living Green” topic outright – but embracing your age can be quite the life-changing experience! Rather than lamenting about entering a new decade, I have the opportunity to embrace a new chapter of my life with zest and zeal!

Having turned the corner to 30 just this week, I’ve been considering all the shifts that are ahead of me. “What will 30 feel like?” “What changes will this decade bring?” “How will I grow as a person, wife, sister, and friend?” These are all incredibly important questions that force me to pause and think upon the life I’ve been leading, and how I can continue to improve upon it. And not in superficial ways, but in the things that matter most: friends, family, personal accountability, and faith.

The excitement and intrigue of entering this new chapter inspired me to create the graphic above – simply titled – 30 Awesome Things About 30. Call me cheesy or sappy – but I think it’s important to reflect on these kinds of milestones and to approach them with grace and thanksgiving – which is what I hope I’ve done!

So for any of you who are nearing a milestone, or have recently entered a new chapter of your life, I hope this post inspires you to look beyond a number and indulge in the beauties of enjoying a full life!

Happy aging!

A DIY Wedding

Katie & Philip's DIY Wedding 2013

When it was announced that my baby brother was getting hitched – I could barely contain my excitement! Not only was I a mega-fan of the bride to-be, I also knew that this wedding would be different. Between the creativity imparted on Phil by our family, and the uber-crafty cunning of Katie, I had no doubt that this would be a DIY wedding to remember!

The Plan:

First things first, the bride made her own handy-dandy wedding planner in which she would list all the elements that would need to come together for this rustic, meets shabby chic, affair. Delegating out tasks across the familial pool, we each had an important part to play. The Krupinski side of the family was in charge of flowers, bridal party accessories, favors, and a portion of the food and centerpieces.

By inviting family and friends to take the lead in the preparations for their special day, Katie and Philip ensured that their wedding would hold sentiment for them, and all the guests who attended. 

diy wedding

Wedding Favors: With a little elbow grease and some heavy duty diamond tip blades, my father made over eighty drinking glasses for the guests using old soda bottles. Talk about being green! Each one was then scripted with the event date and initials of the bride and groom making them an elegant and functional wedding favor.

Centerpiece Stands: My brother and dad also gathered used wooden candlesticks and wood from a recently fallen tree trunk, and assembled the most ingenious centerpiece bases (which I plan to steal for use in my own home – shhhhh). White washing each candlestick and gluing the top to a cross-cut of the tree trunk, these homemade cake stands were used for elevating the light and whimsical baby’s breath table bouquets.

Katie & Philip's Wedding 2013

Continue reading