DIY: Peppermint Mocha Body Scrub

SANYO DIGITAL CAMERA

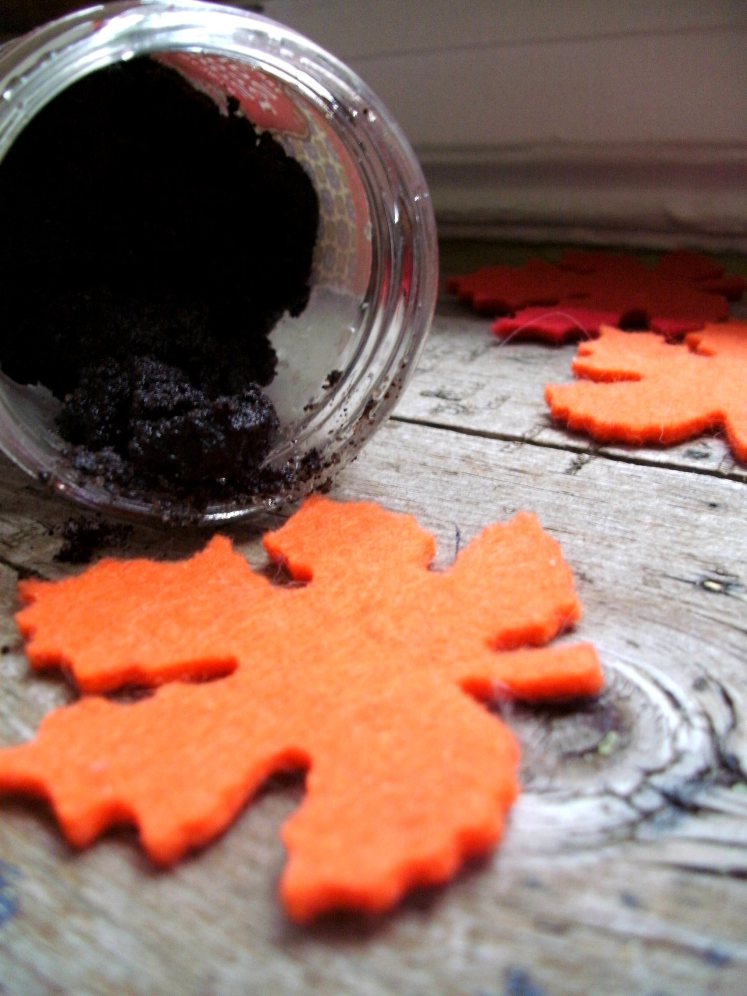
It’s the time of year when we turn off the air, bust open the windows, and let the cool breeze of autumn whip through our homes. Forget spring cleaning – fall is when I want things to be light and fresh – which is exactly what has inspired my classic homemade Peppermint Mocha Body Scrub.

Made with ingredients from the kitchen, the exfoliating texture and delicious smell of this DIY treatment will transform your bathroom into a foodie spa extravaganza. Unlike the fattening espresso drink of the same name at Starbucks – this luxurious scrub is actually good for you! Made with olive oil, coffee grounds and effervescent peppermint, it will awaken your senses while sloughing off dry dull skin.

Follow the recipe to see how easy it is to indulge!

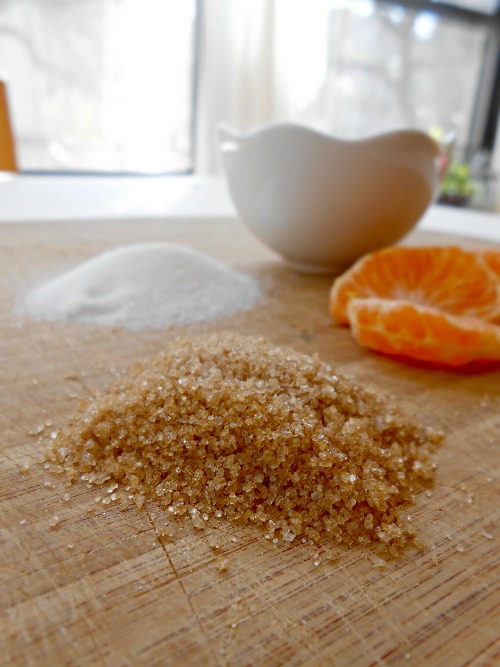
Ingredients:1 cup used coffee grounds, 1/2 cup raw sugar, 2 tablespoons olive oil, 10 drops peppermint oil, 1 teaspoon cocoa

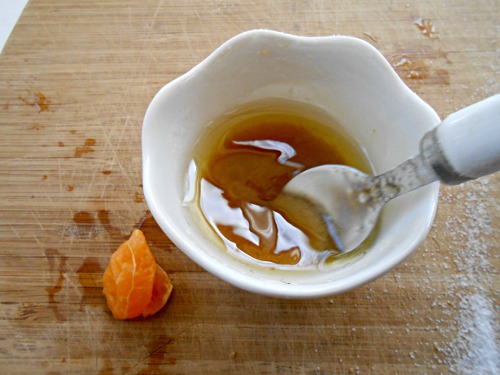
To make, combine the coffee grounds and sugar in a small bowl and stir together. Next, add the two oils to the coffee sugar brew. Once you have thoroughly mixed the oils in, add the teaspoon of cocoa to give it an extra kick of scent. Pour your concoction into a cleaned out jam jar. For gifting purposes, wrap a string of ribbon or raffia around the base and tie in a bow. Will stay good in open air for two weeks – or you can refrigerate it to extend the shelf life.

Enjoy!

DIY: Homemade Cheek & Lip Stain II

coral cheek and lip stain 2

One of my all-time most popular DIY tutorials is my homemade cheek and lip stain that I put together years ago after discovering the Cosmetics Safety Database. Looking up product after product within my cupboard I had discovered that many were laced with ingredients that were toxic to my health.

This led me to do a total purge of all my make-up, including my most prized product, Benetint. After searching store after store for a natural alternative, I decided to make one up myself using basic kitchen ingredients. And the result? Perfection! My DIY stain was toxin free, easy to make and created a picture perfect come-hither glow.

Fast forward and I’ve found myself once again drawn to Benefit products – this time a pretty coral stain. But rather than compromise three years of skin detox, I decided to give my original recipe a twist and create a pretty tinted concoction that I could use all summer long. The main ingredients? Beets and carrots.

step 10 done!

Saturated in pigment and easily pliable, both of these root veggies make a perfect base for a cheek and lip stain that will give you a rosy blush to go with your summer tan. Don’t believe me? Follow my directions below and you too can opt for a  homemade lip and cheek hue that will make you glow from the inside out.

Continue reading

DIY: No-Sew T-Shirt Turban

diy tshirt turban headband by pierogi picnic

It’s the time of year for biking, sunshine and humidity – which can mean only one thing – it’s frizz season!

If you have any hint of kink in your hair than I know you know where I’m coming from. You can be having the perfect hair day, go on a nice long bicycle ride, arrive at your location only to find that you’ve got that finger-in-a-light-socket look, and it ain’t pretty. So what’s a gal (or guy!) to do?

There are tons of products out there that can potentially help, but rather than slop gunk onto your locks try this out instead: a cotton turban headband. Not only will it keep your hair in place, it will also draw the eye away from that halo of fuzz that inevitably develops in the summer months.

Here’s a quick five-minute tutorial on how to make your very own headband using an upcycled tee and a pair of scissors. No sewing machine required! Give it a try and you too will find it’s the easiest way to beat the frizz this season. Continue reading

DIY: Clementine Facial Scrub

Pierogi PIcnic: DIY Facial Scrub all natural

It’s that time of year! Time to slough off winter and freshen up for spring. That’s at least what I had in mind the other day after seeing all the dry flaking skin that was accumulating on my face. Time for scrubbing up!

Realizing I had no scrub on hand I quickly put together my own concoction using a mix of sugars, olive oil and clementine juice. The results? Fantastic! After using my DIY creation my skin felt refreshed, soft and glowing. If you’re looking for a simple way to rejuvenate yours – give this easy to make scrub a try.

Ingredients:

  • 1 tbsp white sugar
  • 1 tsp brown sugar
  • 1 tbsp olive oil
  • 1 peeled clementine

Instructions:

  1. Combine your sugars and oil in a small dish and stir.
  2. Squeeze in 3-4 wedges of clementine juice
  3. Mix well and use immediately.

DIY face scrub from pierogi picnic

DIY face scrub from pierogi picnic

DIY face scrub from pierogi picnic

DIY face scrub from pierogi picnic

If you’re looking to take your scrub one step further, consider adding a teaspoon of honey to help super parched skin or 3 drops of tea tree oil if you have an oily complexion. And should you not have any white sugar in your home, compensate with brown. I don’t recommend using turbinado sugar as the mill is not as fine and can tear up your skin. If you want to make a big batch in advance to use over the course of a month, pop it into a small yogurt jar and keep it in the fridge.

So there you have it! An easy to make, all natural and super effective scrub to help your skin recover from the winter blues. Enjoy!

DIY face scrub from pierogi picnic

DIY: Newspaper Party Streamers

DIY: Eco-Friendly Party Decor - recycled newspaper streamers

This past month I found myself in a dilemma. David’s birthday was suddenly at hand, we had a party planned, and I totally forgot to consider decorations! With just an hour before the first guests’ arrival, I devised a quick and resourceful way to get my apartment into the party spirit: Upcycled paper streamers!

Sneaking a few sheets of newspaper away from my bunny’s stash, I concocted a simple banner design that only required a few strategic cuts and less than 10 minutes of sewing. The result? A transformed festive space that’s eco-friendly and ready for fun!

Should you be on the lookout for a simple and design-savvy way to deck out your place for an upcoming get-together, give this easy four step tutorial a try!

upcycled party streamers tutorial

1) Cut your newspaper into one inch slices.

2) Gather a stack of your sliced paper and cut each strip in half.

3) Align your strips to ensure they’re all the same length. Don’t worry about the width of each being exact.

4) Use a simple stitch and same plain thread to connect the strips together, sewing about a half inch from the tops. Sew approximately 30-40 slips per streamer.

And that’s it! To hang your streamers all you need to do is grab some washi or marking tape and affix them to your ceiling at varying lengths and spaces. You’ll find that the more streamers you hang, the fuller the installation’s look, so don’t be afraid to go nuts and make ten or more pieces!

Do you have a secret last-minute party decor idea that’s easy to make and eco-friendly? Share your tips with us!

Pierogi Picnic: Handmade Party Streamer Tutorial

DIY: Handmade Winter Legwarmers

pierogi picnic: diy legwarmers

Just a couple weeks back much of the Midwest was engulfed in what was dubbed the “polar vortex”. With temperatures dipping down as far as negative 19 in Chicago-land, it was more important than ever to layer up to keep warm. And that’s exactly what I had to do along with millions of other folks. Slipping into layer upon layer of tights, leggings and socks, it suddenly hit me – I need some old-fashioned legwarmers! So I grabbed an old sweater and got to crafting. Within twenty minutes I was cozied up and ready to hit the great and frigid outdoors.

If you’ve been battling to keep your legs warm this season – give this easy tutorial a try! All you need is a pair of scissors, needle, thread and a chunky knit sweater. If you have any mismatched buttons lying around  grab those too for added embellishment. In just a half hour or less you’ll be on your way to a toastier, and more eco-chic you!

pierogi picnic: diy legwarmer tutorial

    1. Pick out a vintage or gently used sweater that you’d like to transform.
    2. Cut off both sleeves – leaving the original seams on the torso. Save the extra fabric to make a pillow or skirt.
    3. Roll the raw edge until you have a double fold.
    4. Grab your needle and thread to hem the fold. Start with two regular loop stitches.
    5. After making the second, pull your needle through the stitch’s loop.
    6. Pull taught and move on to the next stitch, repeating the process. This is called the “lock stitch” method.
    7. Grab a handful of mismatched buttons. 
    8. Sew the first button onto the original sleeve hem – not the lock-stitched one you just created.
    9. Add more buttons and repeat on other legwarmer.

And there you have it! In just a handful of minutes you’ll find yourself donning an adorable and toasty pair of hand-crafted legwarmers! Layer them over a pair of leggings and tall boots or transform your favorite flats into winter-ready apparel. Should your one-of-a-kind accessories get dirty, simply hand wash them in the sink with your favorite eco-safe detergent and set them out to dry.

Pierogi Picnic: DIY Eco-Friendly Legwarmers

DIY: Cozy Sweater Stockings

Handmade Sweater Knit Stocking

I absolutely love the look of soft cozy knits in the winter. If it were up to me I’d enshroud my entire apartment in knit blankets, rugs, pillows and drapes!

But since that’s not currently possible – I’ve had to satiate my urges to make everything soft and fluffy in a different way. Rather than go out and purchase a set of readymade holiday decor, I decided to handcraft a set of rustic Christmas stockings on my own. Utilizing pre-loved knit men’s sweaters, these elegant and wintery gift socks were quick to make and added just the right amount of cheer to our fireplace mantle. Follow my easy instructions below to craft a set of stocking for your home or to give as a gift to your favorite homebody!

DIY Eco-Friendly Knit Sweater Christmas Stockings

Supplies you’ll need: Sharp fabric scissors, knit sweaters (you’ll get 2 stockings out of 1 sweater), yarn for hanging, white thread, sewing machine, embellishments.

DIY Sweater Christmas Stockings

  1. Gather up your supplies. Think soft, cozy, and creamy colors.
  2. You’ll need a stocking template. I used the one off Martha Stewart’s website as a loose guide.
  3. Cut out the stocking shape using two layers of your sweater fabric.
  4. Bring the two right-facing sides together and stitch along the sides and bottom, leaving the top un-sewn.
  5. Cut 3-4 inches of yarn. Fold the top of the stocking over an inch around the top and pin the yarn on either side of the top back seam (the one that leads to the heel of the stocking).
  6. Sew across the top of the stocking hem using a zig zag stitch. This will keep the top from fraying and separating as you stuff the stocking with presents.
  7. Choose your stocking embellishments. These will add color, texture and spice to your stocking. You may also want to consider using something that will help identify which stocking belongs to which family member.
  8. Hang, fill with presents and enjoy!

DIY Sweater Stocking Eco-Friendly Chrristmas